Quick Links on This Page
So you want to how the restoration of the
Steering Wheel
for my E-M-F Automobile is going?
Well, you have found the right page.

Sunday, December 31, 2000 4:45 PM
 |
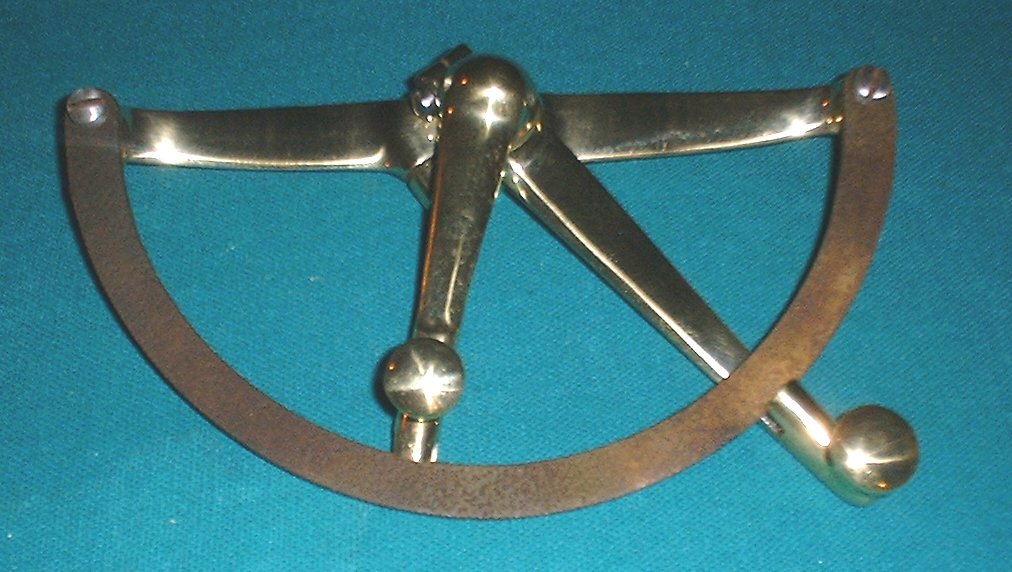
| Steering wheel and controls as I found them in Kentucky. Note the original mud dobbers nest on the wood rim of the steering wheel. Click on the picture to see the full size. |
 |
| Here are the Spark and Throttle all polished up. All that remains is plating the steel piece. Click on the picture to see the full size. |
After I got the spark and throttle off, I polished them up and placed them in my display case.
 |
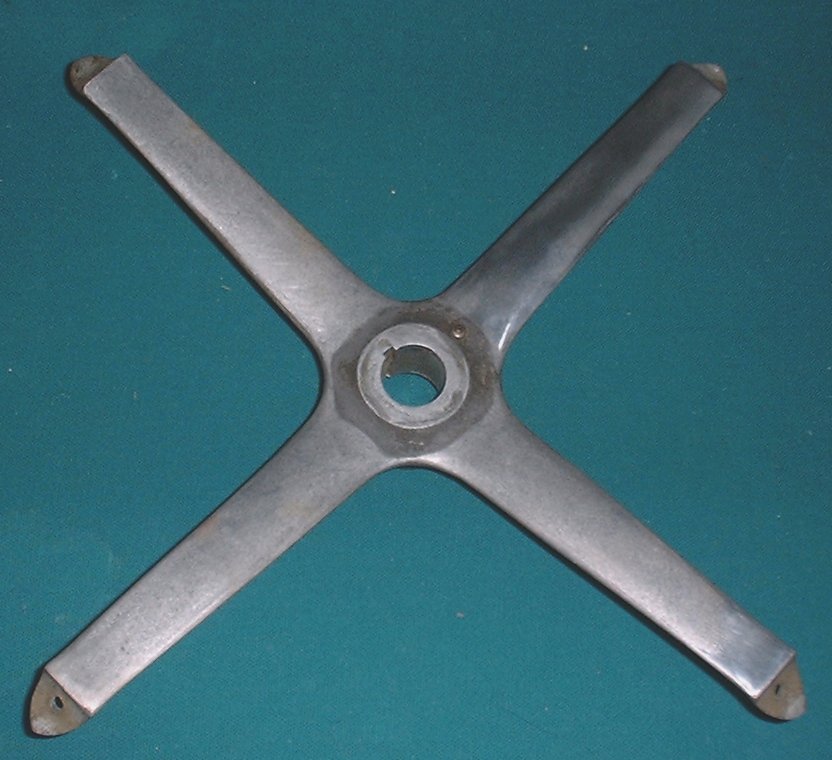
| The steering wheel just off the car. Notice I did try polishing up part of the aluminum spider. Click on the picture to see the full size. |
Right now the steering wheel is sitting in my display case until I figure out what to do about the wood.
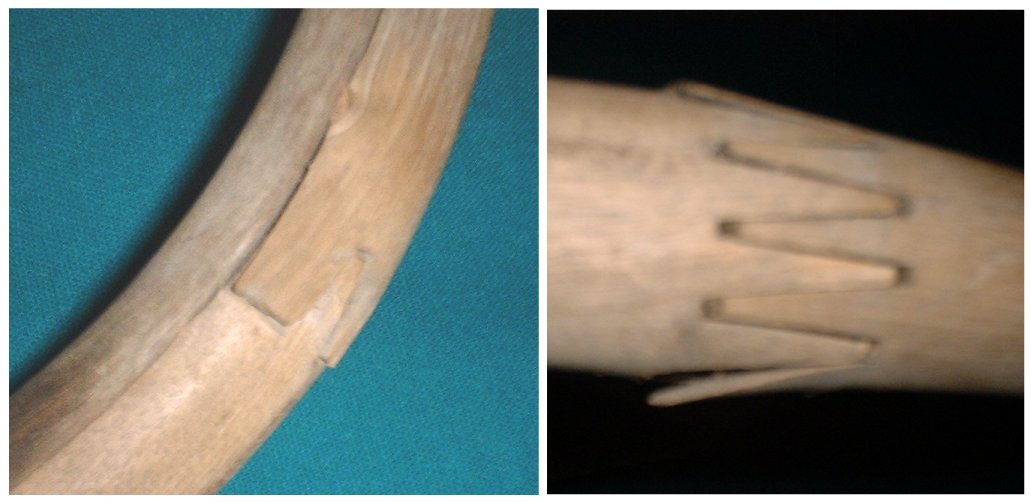 |
| The left image shows the top of the wheel with slight separation of the wood pieces. The right image shows the "finger" cut that joins the pieces. Click on the picture to see the full size. |
Thursday, March 29, 2001 11:48 AM
 |  |
| This is the steamer box I built to steam the wood rim of the steering wheel. Click on the picture to see the full size. | This is the spider after sanding each leg with 220 grit. Notice I have not fine sanded around the hub. The leg to the upper right is polished. Click on the picture to see the full size. |
I also did more work on polishing up the aluminum spider. I sanded it with 220 grit sandpaper, then 600, then 1500, then polished it with two different grit polished on the buffer. It is going to look nice, I only have one leg of the spider polished because I ran out of time. My goal it to finish that steering wheel so I can say I have another piece completed.
Monday, June 25, 2001 11:49 AM
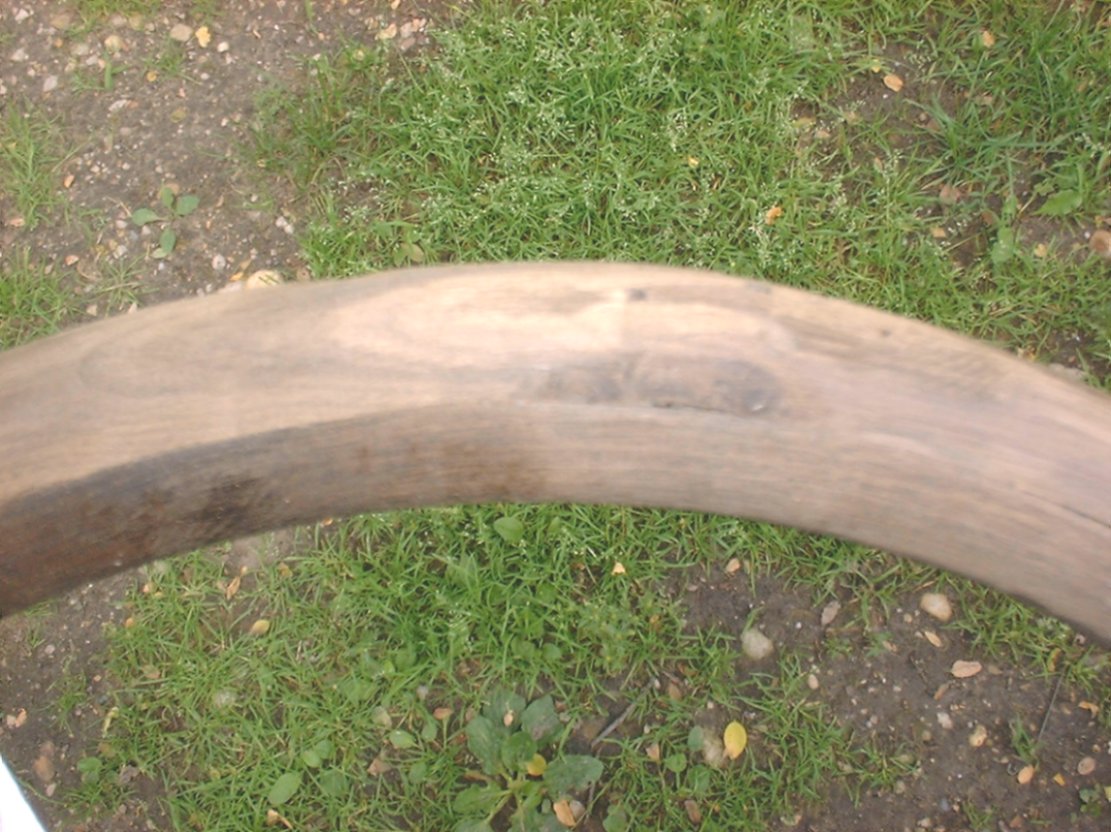 |
| Here is the joint now fixed. No more gaps. Click on the picture to see the full size. |
All I have to do now is sand the thing down and finish it. I do have a couple of places where the wood cracked as I bent it, but I have been able to force glue into the cracks and then clamp it back down. When the glue dries, a quick sanding leaves almost no evidence of a crack.
I still have two places in the wood rim that will require filling with something, though at this time I am not sure what to use. I will have to think on it for a while. Any suggestions on what I should fill a gap with in the wood rim?
Sunday, November 4, 2001 11:50 AM
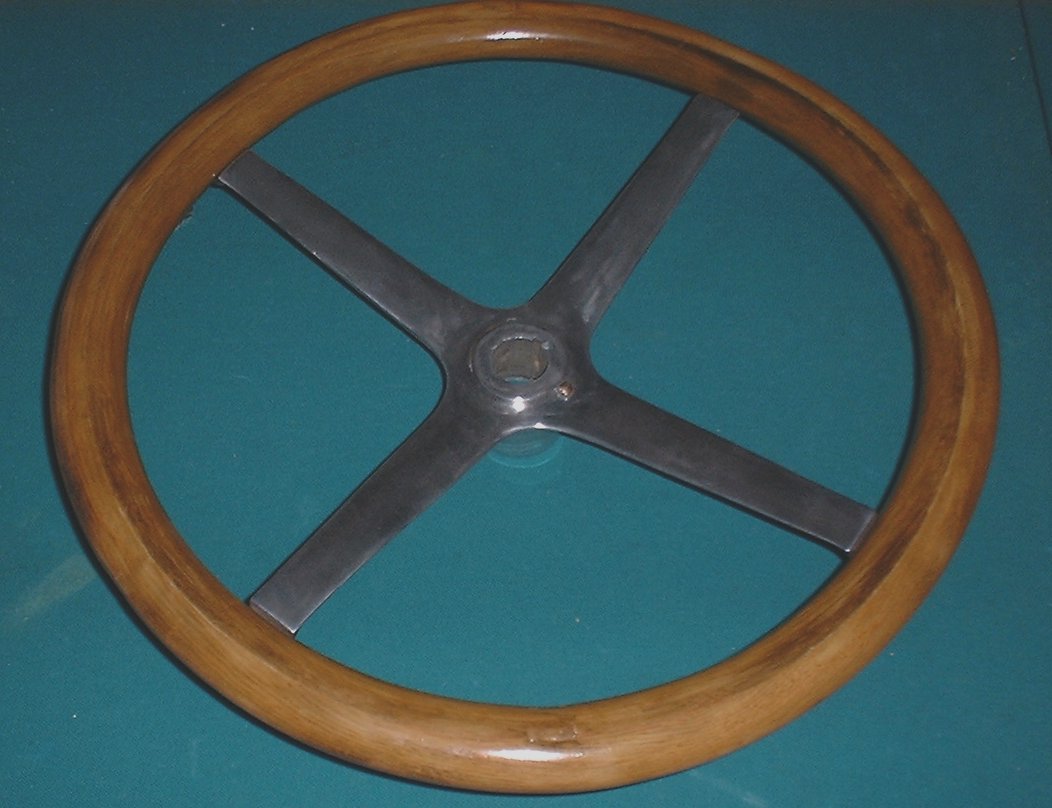 | 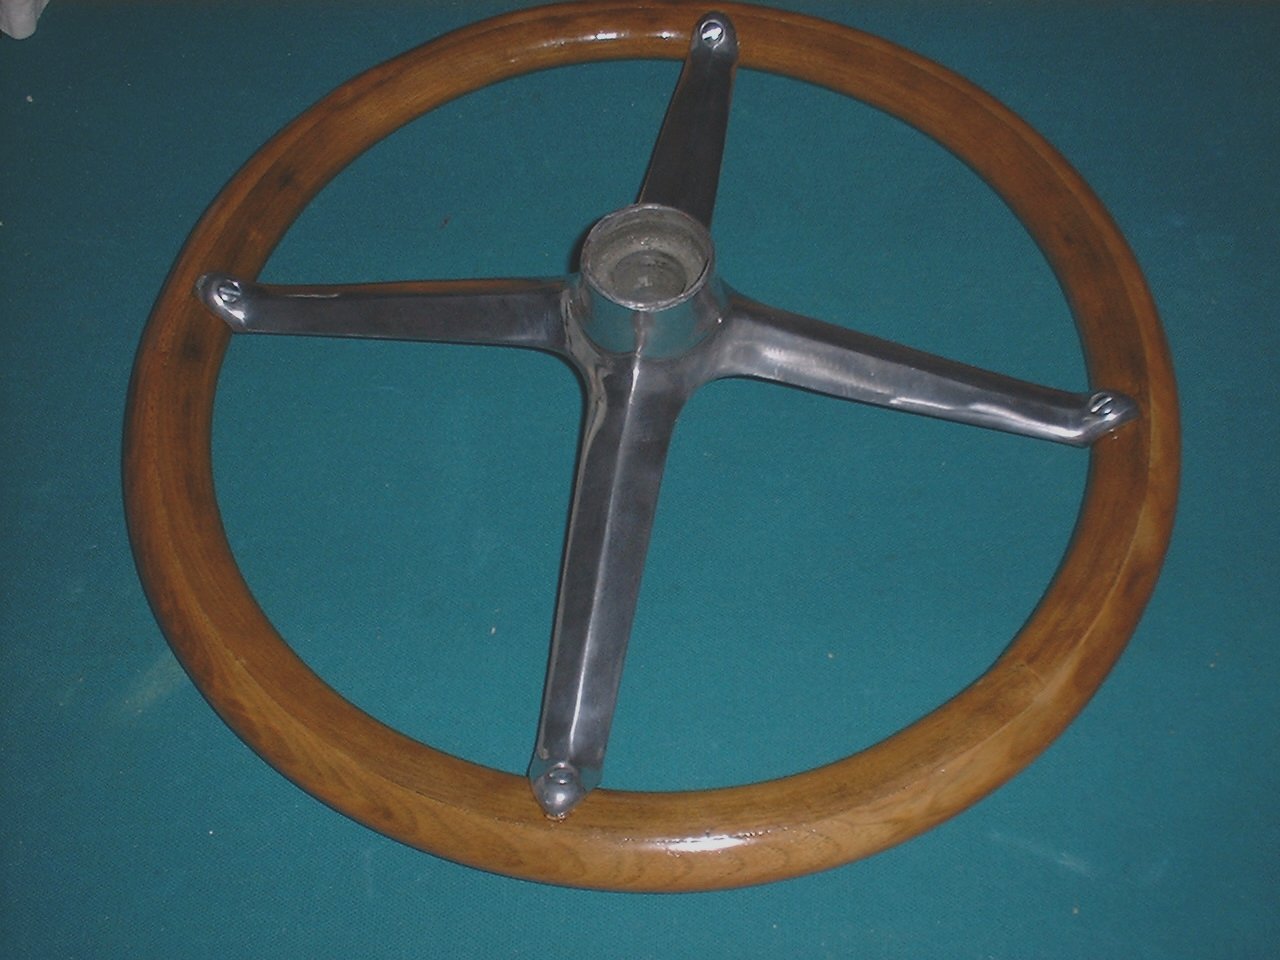 |
| This is the top of the finished steering wheel. See is you can find the joints. Click on the picture to see the full size. | This is the bottom of the finished steering wheel. Click on the picture to see the full size. |
The spider was polished up and reattached to the wood wheel with 4 new counter sunk oval head screws. All in all I am very pleased with the way it looks.
One thing I would do differently next time: I would do all of the filling and sanding of the filling before I did the bleaching. I found that when I sanded the bleached wood, I was sanding back down to darker wood. I chose not to re-bleach since I did not want to loose any more of the wood through another round of sanding.
So there you have it, another piece completed. I hope you have enjoyed following in the restoration of the steering wheel for my 1912 E-M-F Demi Tonneau. I look forward to the day that I can turn it clock-wise and make the car go right, and vise versa.
Please contact me if you have any questions.
How to contact me... |

|
|
John M. Daly |
||
| Phone: | (815) 786-4824 | |
| Email: | ||