Quick Links on This Page
So you want to how the restoration of the E & J Carbide Generator for my E-M-F Automobile is going? Well, you have found the right page.
The correct carbide (or acetylene) generator for the 1912 E-M-F is the E & J running board mounted generator. This page will follow the restoration of the generator for my 1912 Demi Tonneau.

Wednesday, October 27, 2010 8:33 AM
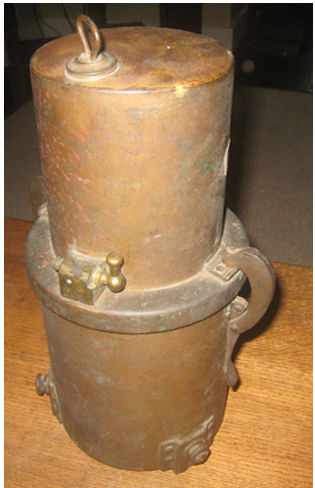 |  |
| Front view of the E & J Carbide Generator Click on the picture to see the full size. | Rear view of the E & J Carbide Generator. Click on the picture to see the full size. |
As you can see from the pictures, there are only a couple of small dents to remove.
The way this works is that water (I will use distilled water) is put in the top tank. Calcium Carbide crystals are placed into the basket. When the unit is closed up and the water valve on the side of the unit is opened, water will drip onto the Calcium Carbide and release Acetylene gas which is piped to the burners in the headlights. I have read that there is approximately 5 PSI of pressure. The waste product from this procedure will corrode metal so the generator must be cleaned after each use.
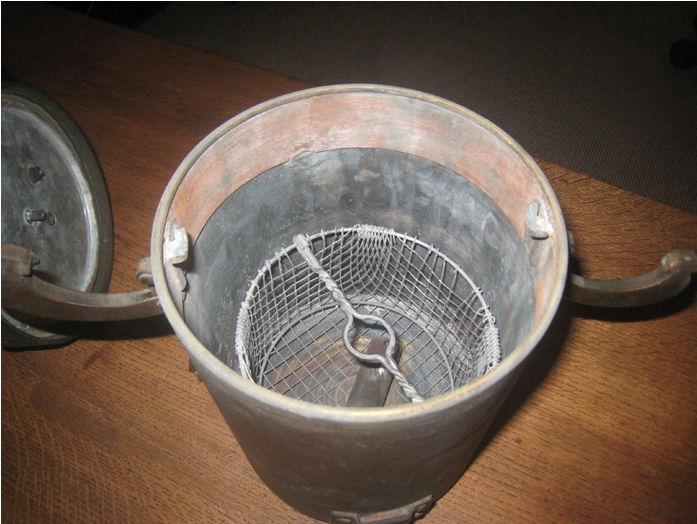 |
| Looking inside the tank on the generator. Note the original basket. Click on the picture to see the full size. |
I was not sure if this was an original or a reproduction generator which had been allowed to tarnish. I posted a message on the AACA discussion forum asking some of the more experienced readers there for an opinion. Everyone agreed that it was original and I was fortunate to find it.
I will be cleaning this up in the future which will involve cleaning the old tarnish off of it, polishing up the brass and fixing any dents. It does not appear to be cracked anywhere which is unusual.
Stay tuned for future updates. Happy Motoring!
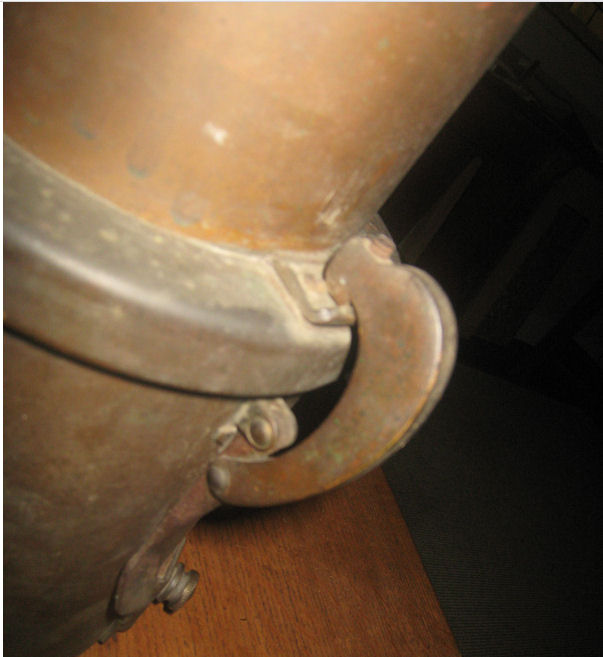 | 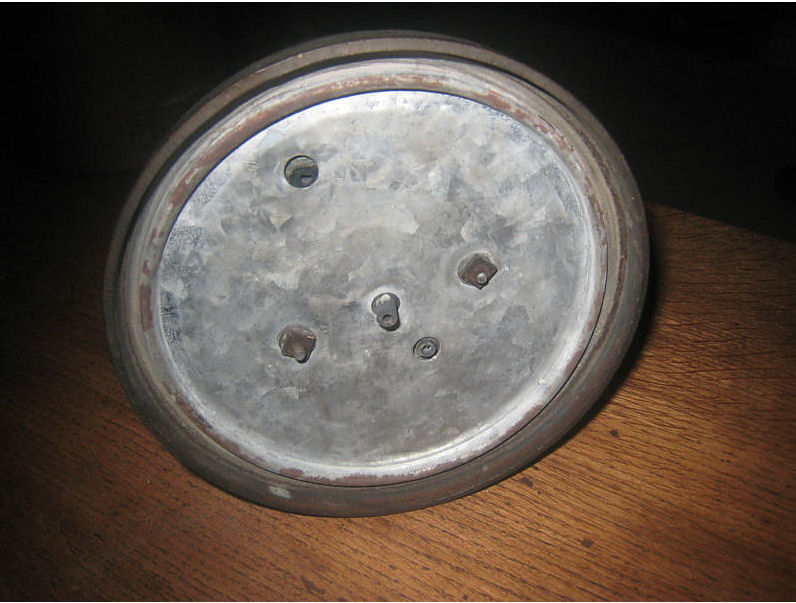 |
| Picture of the clamping mechanism used to seal the water tank to the gas tank. Click on the picture to see the full size. | Showing the inside view of the bottom of the water tank. Note water tube in the middle. Click on the picture to see the full size. |
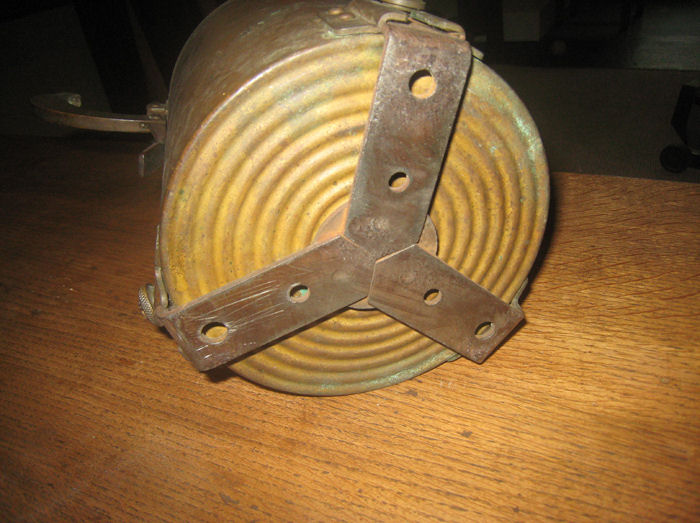 | |
| A picture of the bottom of the tank, also showing original mounting bracket. Click on the picture to see the full size. |
How to contact me... |

|
|
John M. Daly |
||
| Phone: | (815) 786-4824 | |
| Email: | ||